1
.
Introduction
This manual will help you get started when you first use the Calculus Portal.
Users can have different rights. If you do not have the necessary rights, certain features in this manual will not be accessible to you.
2
.
Register and login
In the manual: "First Time Logging In", you will find the steps to log in to the Calculus Portal for the first time.
If you have questions regarding login, you can find more information in the manual:
"How do I log in to the Calculus portal".
3
.
Navigating the portal
Navigation on the Calculus Portal is via the menu bar on the left side of the portal.
More information on the content and use of this bar, can be found in the manual:
"The menu bar explained.".


4
.
Securing your account
You can manage your account security settings through the "Settings" menu, found in the menu bar.


We recommend that every user of the Calculus portal use
two-step verification
to use.
This is an extra step you have to go through every time you log in, and helps protect your account if your password is stolen.
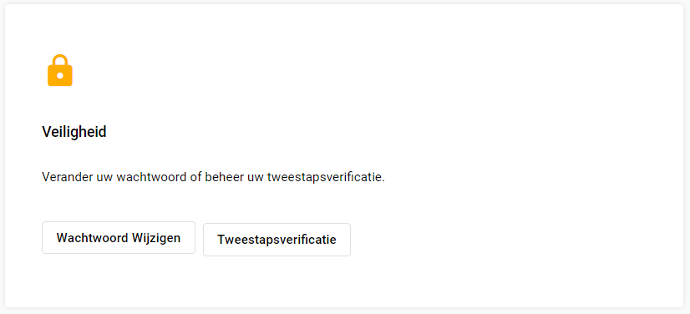
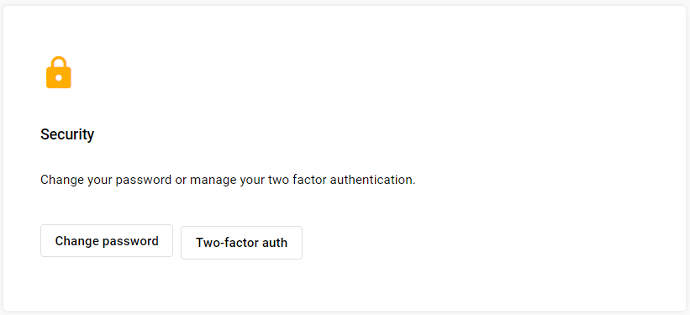
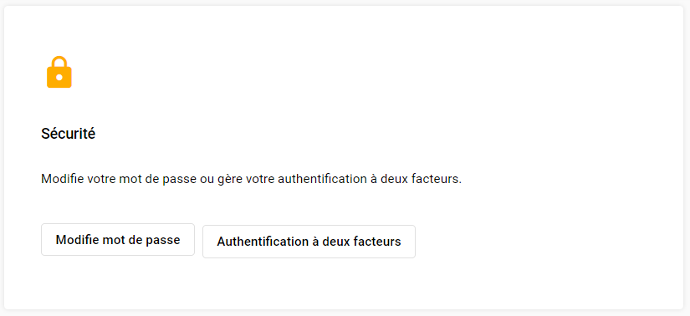
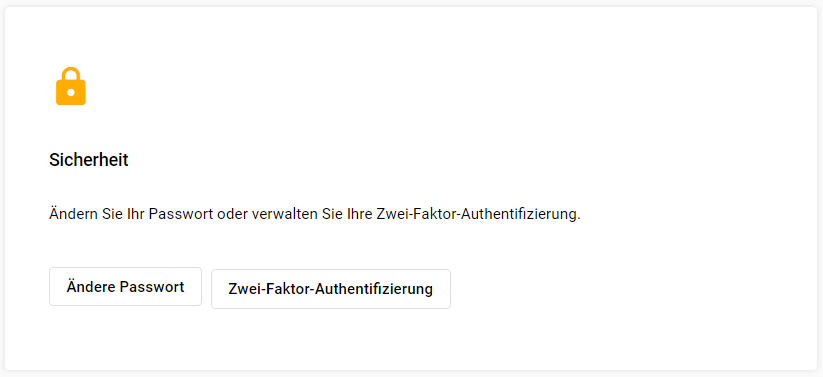
More information about two-step verification can be found in the manual: "How do I manage my security settings?".
5
.
Managing your corporate account
You can manage the information regarding your company through the "Companies" menu, found in the menu bar.


Follow the steps below to view or edit the information regarding your company.
1. Select the desired company.


2. Change the name and address and click the "Save" button at the bottom right.


6
.
Inviting users into the company


When you add a user to your company, you can specify which operations this user is allowed to perform. We do this using user permissions. Giving rights to users reduces the security risk and keeps you in control.
More information regarding inviting a user can be found in the manual: "Invite a user to a company.".
7
.
Managing projects
With the help of a project, you can collect and display data that interact with each other. This is done using assets, dashboards, diagrams, images,... . These concepts are explained in the following sections.
You can invite users at the project level. This gives them access to data only on the particular project, and not all projects belonging to your company.
More information regarding projects can be found in the manuals:
"How do I create a new project?" and "Invite a user to a project?".
8
.
Managing gateways
A gateway is a device that collects data from one or more sensors, then sends it to the portal.
Based on this data, you can create dashboards in which the data is structured and neatly presented for monitoring purposes.
More information regarding projects can be found in the manuals:
"How do I register a new gateway in my company?" and "How can I configure a gateway?".
9
.
Managing assets
In the portal, we use the term "asset." This is a name for the devices from which you wish to obtain data, e.g CO₂ -meters, pumps or generators.
Assets receive their data from gateways, which aggregate the measurements from these devices and send it to the portal.
In each asset, there is a tab called datasources. In a datasource, you select the device that will provide data to this asset. An asset can contain multiple datasources.
More information regarding projects can be found in the manual: "Understanding the assets page".
10
.
Creating Dashboards
A dashboard visualizes the measured values of your assets in a structured and clear manner. Dashboards are fully customizable, allowing you to design them to your liking.
More information regarding dashboards can be found in the manual:
"How do I create a dashboard?".
11
.
Widgets
A widget is a simple, graphical element on dashboards that:
- displays information.
- Performs an action, such as changing the room temperature.
More information regarding widgets can be found in the manual:
"How to edit a dashboard and add widgets?".