How do I set up an event?
1
.
Requirements
We recommend that you review the articles below so that you are well prepared for this manual.
the assets page explained
2
.
What is an event?
Using this procedure, you can create and manage events. It allows you to monitor measured values monitor and, if certain threshold values are exceeded, record events recorded. These are then reported to the user in the form of a text message. You can also assign levels to events so that they can be reported with using notification presets through different communication channels to the end user. Levels range from "Normal" to "Critical Error" to indicate the severity of the situation.
3
.
Create a new event
Use the navigation menu to open the Assets page.


Go to the "Types" menu to see the list of asset types


Click on the desired asset type that you want to set an event for. The panel for editing an asset type appears, go there to the "Events" tab.
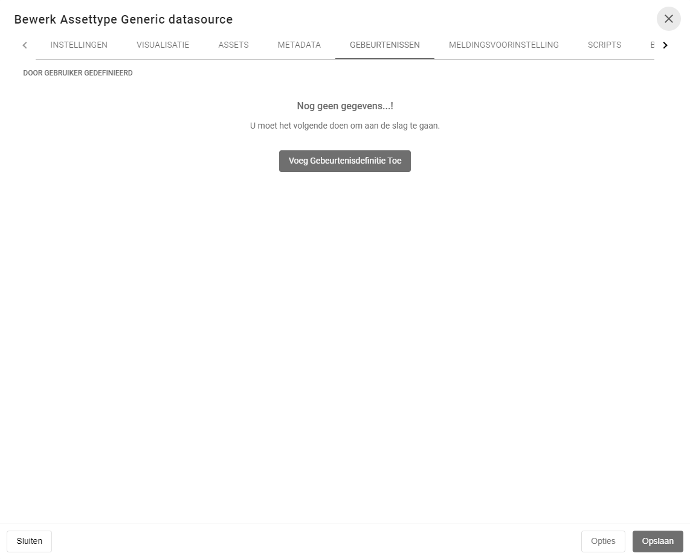
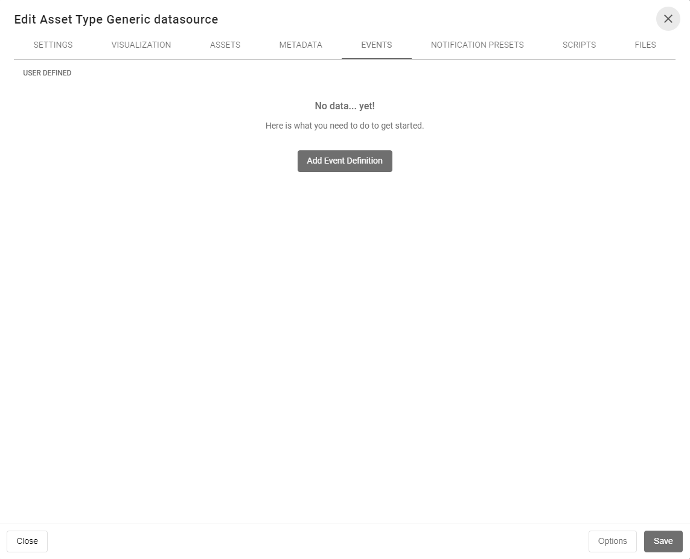
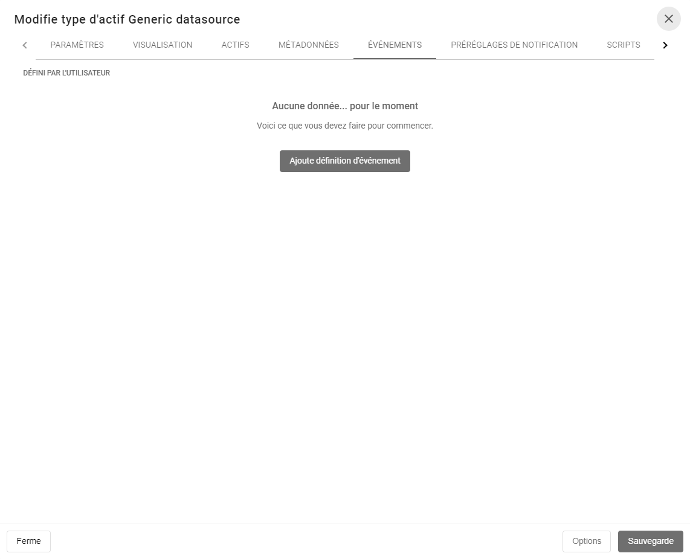
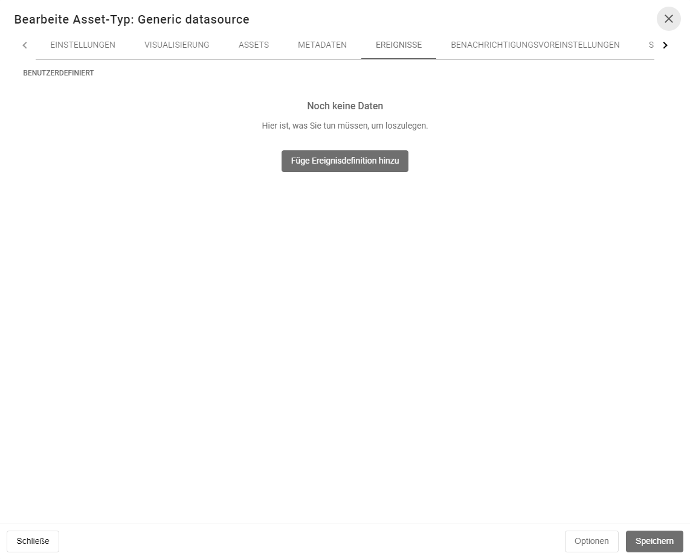
Press the "Add Event Definition" button.


If event definitions are already set, this this button is not available. You can then use the "+" button to add new event definitions.
Choose a data source and sensor. Do not forget to give this event definition a name.
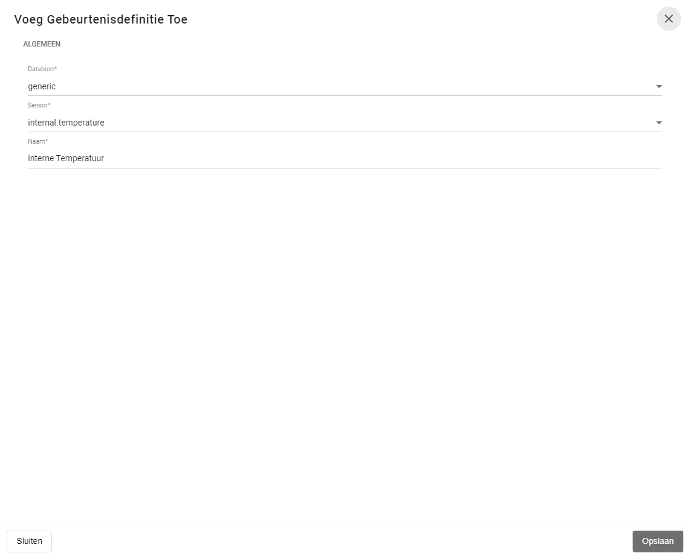
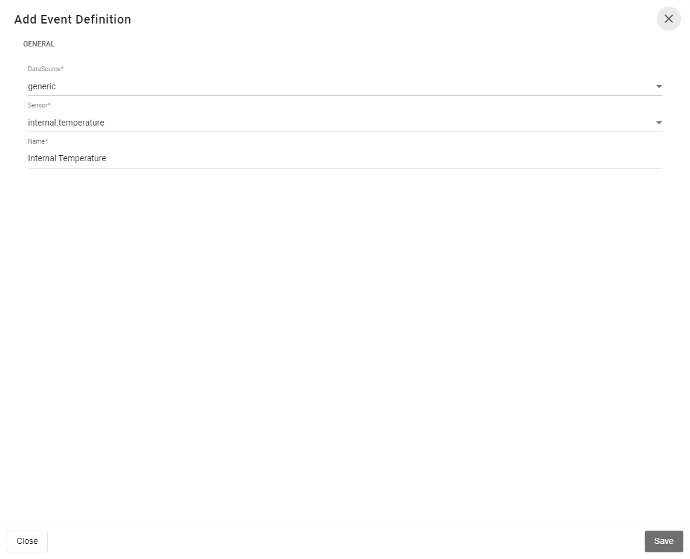
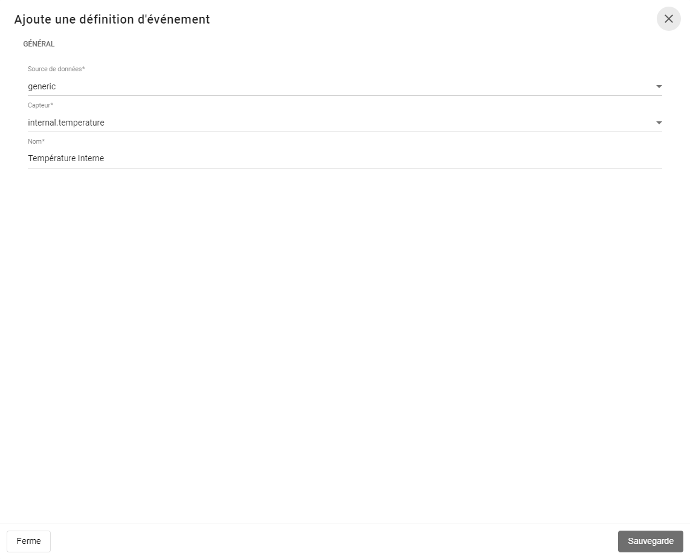
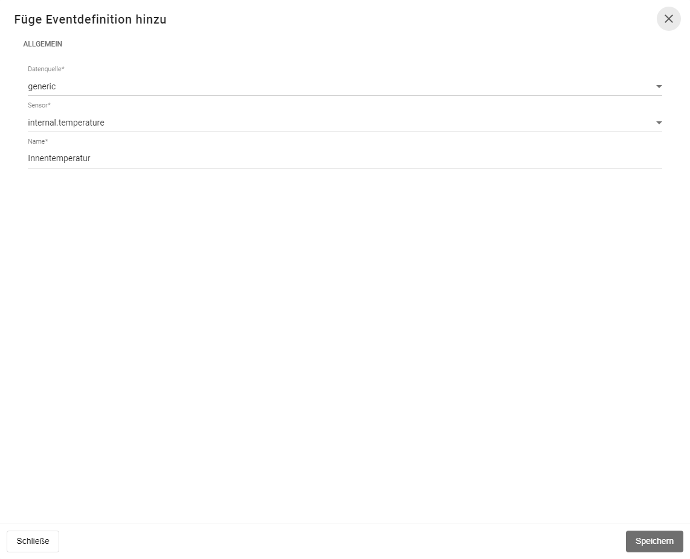
When all fields are completed, click "Save."


After this, a new panel appears with an overview of the current threshold values, their levels and associated text messages. Because this is a new event definition, these do not yet exist.
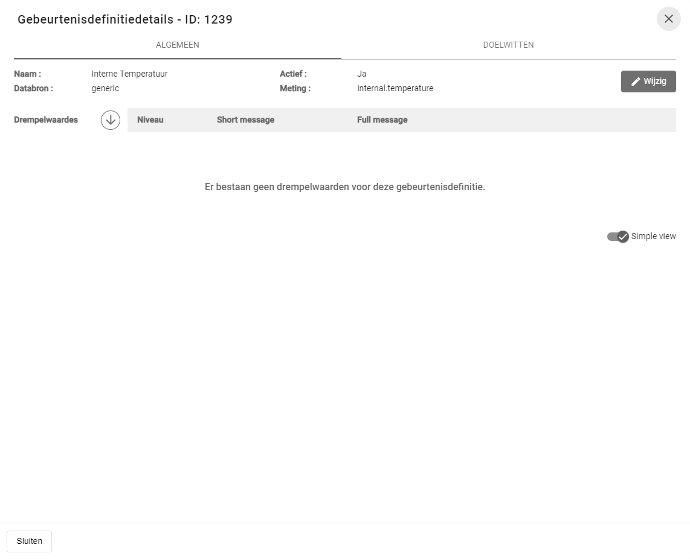
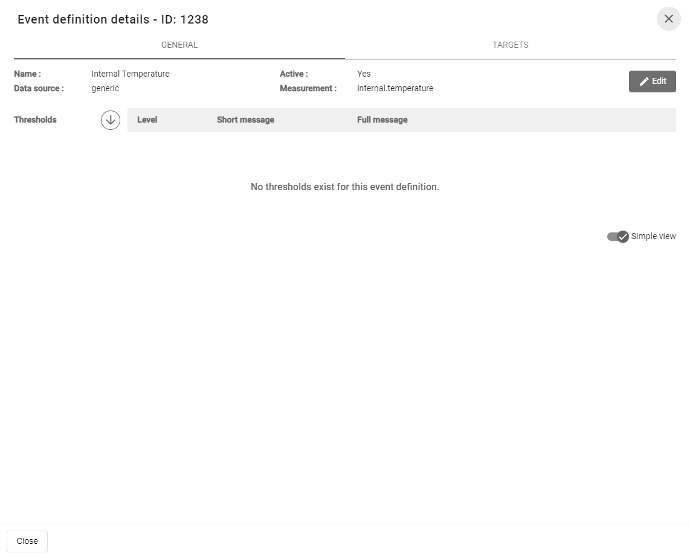
To add them, first click the "Edit" button.


The panel is now in a mode where you can make changes to the event definition.
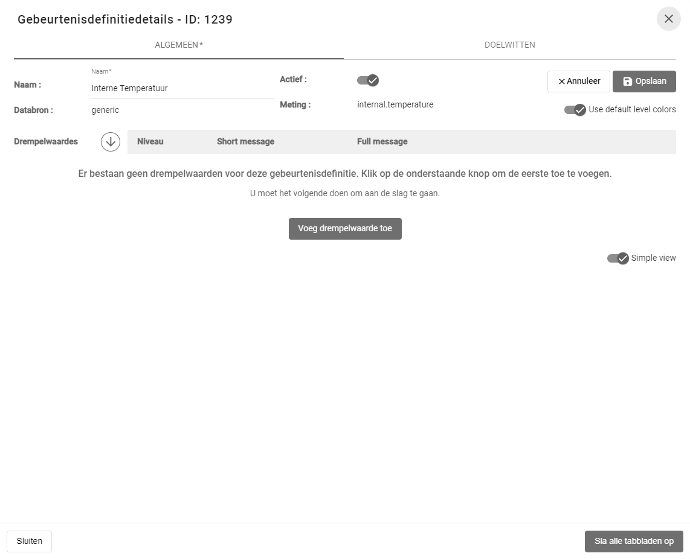
To add the first threshold value, click the button "Add threshold value."

There are 4 levels available:
1.Normal: the lowest level, usually used to denote regular conditions.
2.Warning: good to signal abnormal values that are not serious.
3.Error message: extreme deviations or error conditions are best assigned this level.
4.Critical error: reserved for the most serious errors.
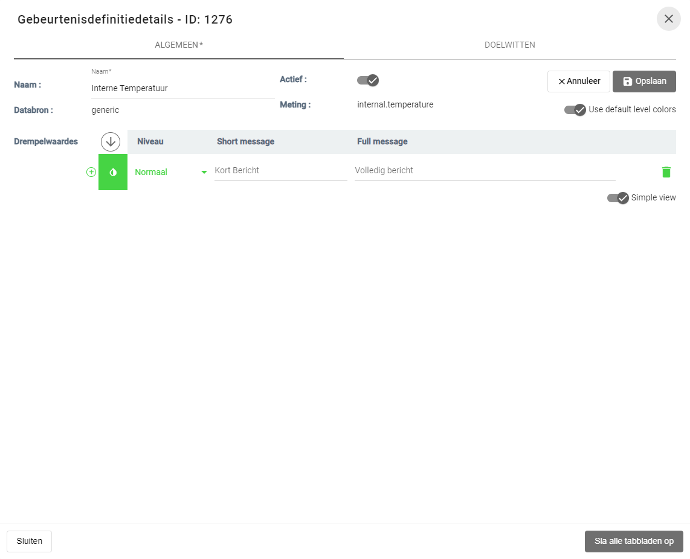
You can add further threshold values using the "+" button to the left of the colored box with the drop icon. Between two lines an arrow also appears, containing an adjustable value. This is the effective threshold value and must contain a unique value. By default, this is from high to low, but you can change this from low to high by clicking on the arrow at the top, next to level.
When you hover over a colored box in front of the level, you can see which values belong to this level.
At the end of each line is a trash can icon. This allows you to delete unwanted levels.
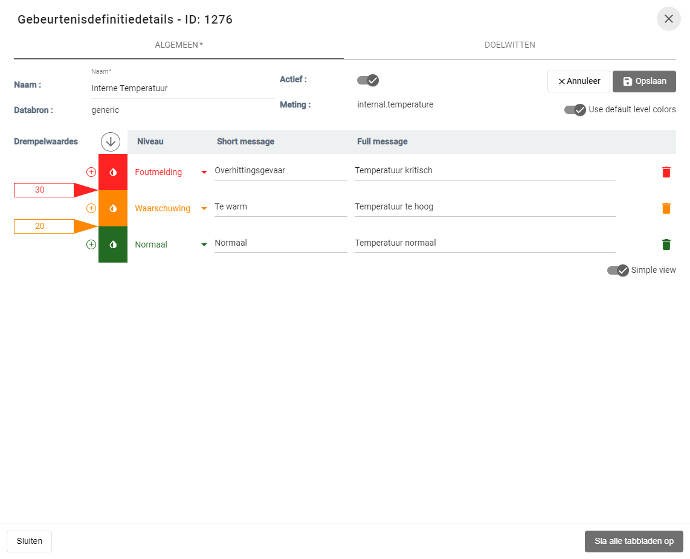
The above example shows how temperature monitoring can be accomplished. Do not forget to activate the new event definition when it is set. To do this, click on the slider next to "Active."
When all settings are complete, click "Save."

4
.
Customize targets
Targets allow you to set variations on existing event definitions, for example: an event definition with a different set of threshold values, or with increased levels.
An event applies to each asset of this type. If you want to create an exception for one or more assets, adjust the target.
Go to the "Targets" menu to see the list of Assets and their threshold values.
When the threshold value of an asset is set to "Default" the default event settings for the associated asset type apply. Click on the line for which you wish to set new threshold values.
A summary of the current threshold values appears, their levels and the associated text messages.
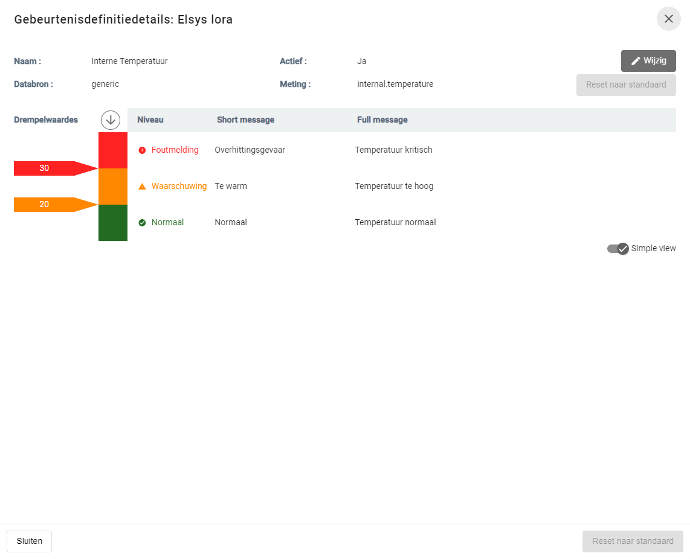
To adjust them, first click the "Edit" button.


The panel is now in a mode where you can modify the current event definitions.
In the above example, both threshold values are reduced by 2°C lowered. This can be done by typing the new values directly into the box, or by clicking on the small arrows next to the threshold value.
When everything is correct, click the "Save" button, and then "Close."
You will now see that the threshold values for that Asset are "Overwritten."
In case you wish to return the event definition to the default values, press the "Reset to default" button.
You are now ready for the next step, creating notification presets. You can read about this in the following article, "How do I set up a notification preset?"